Kontaktujte nás
Jazyk:
Čeština
Čeština
English
Čeština
English
Měna:
EUR €
CZK Kč
EUR €
CZK Kč
EUR €
Přihlásit se
shopping_cart
Košík
(0)
Domů
Modely
Doplňky
Kola a pásy
Přebytky
Tažná lana
Knihy
Figurky
Obtisky
Světla a odrazky
Produkty
Kontakty
Obchodní podmínky
GDPR
search
clear
Domů
Oblíbené produkty
Rychlý náhled
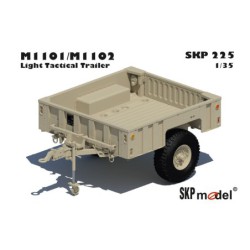
SKP 225 Americký přívěs
19,99 €
Rychlý náhled
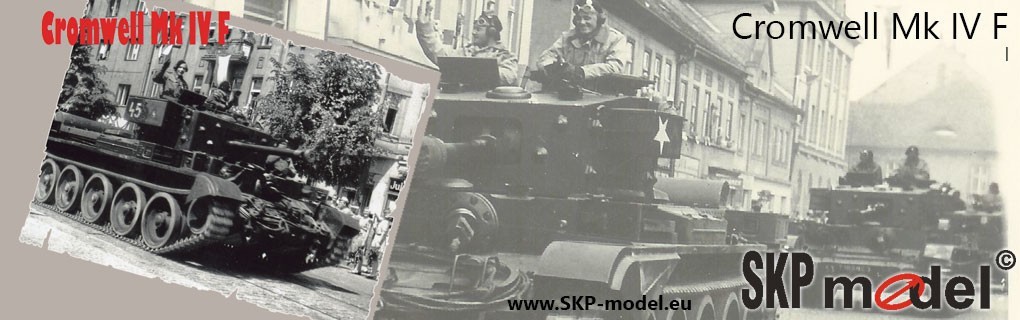
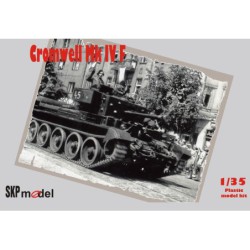
SKP 100 Cromwell Mk IV F
24,99 €
Rychlý náhled
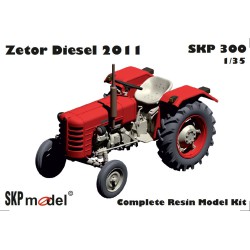
SKP 300 Zetor 2011
49,99 €
Rychlý náhled
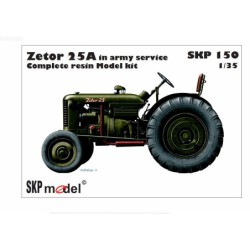
SKP 144/ 150 Zetor 25
49,99 €
Rychlý náhled
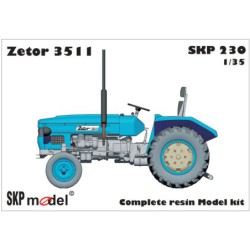
SKP 230 ZETOR 3511
49,99 €
Rychlý náhled
SKP 240 Zetor Super P
49,99 €
Rychlý náhled
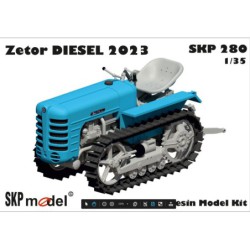
SKP 280 Zetor 2023
49,99 €
Rychlý náhled
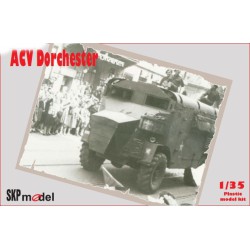
SKP 060 ACV Dorchester
25,49 €
Rychlý náhled
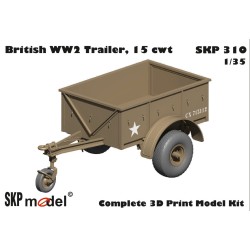
SKP 310 Britský přívěs
19,99 €
Rychlý náhled
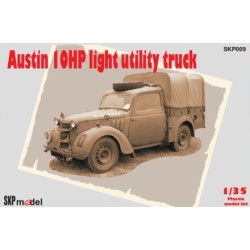
SKP 009 Austin 10HP light...
16,99 €
Rychlý náhled
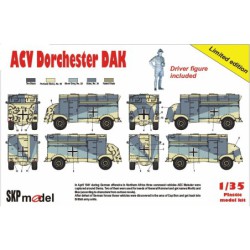
SKP 060 Dorchester DAK
25,49 €
Rychlý náhled
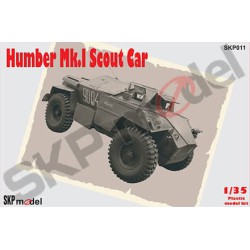
SKP 011 Humber Mk.I Scout car
16,99 €
Všechny produkty